info: This tutorial is written for CPT211 Programming Languages Concepts and Paradigms of semester 2 academic session 2014/2015.
Overview
At the end of this tutorial, you should be able to:
- setup Intel IoT XDK in your machine.
- know how to use Intel IoT XDK.
- know how to develop an IoT app with Intel Galileo board using Intel IoT XDK.
1. Download and Install Intel IoT XDK
Intel IoT XDK is a robust and reliable IoT software tools for developing IoT applications. Simply go to Intel IoT XDK download webpage and download the IoT XDK.
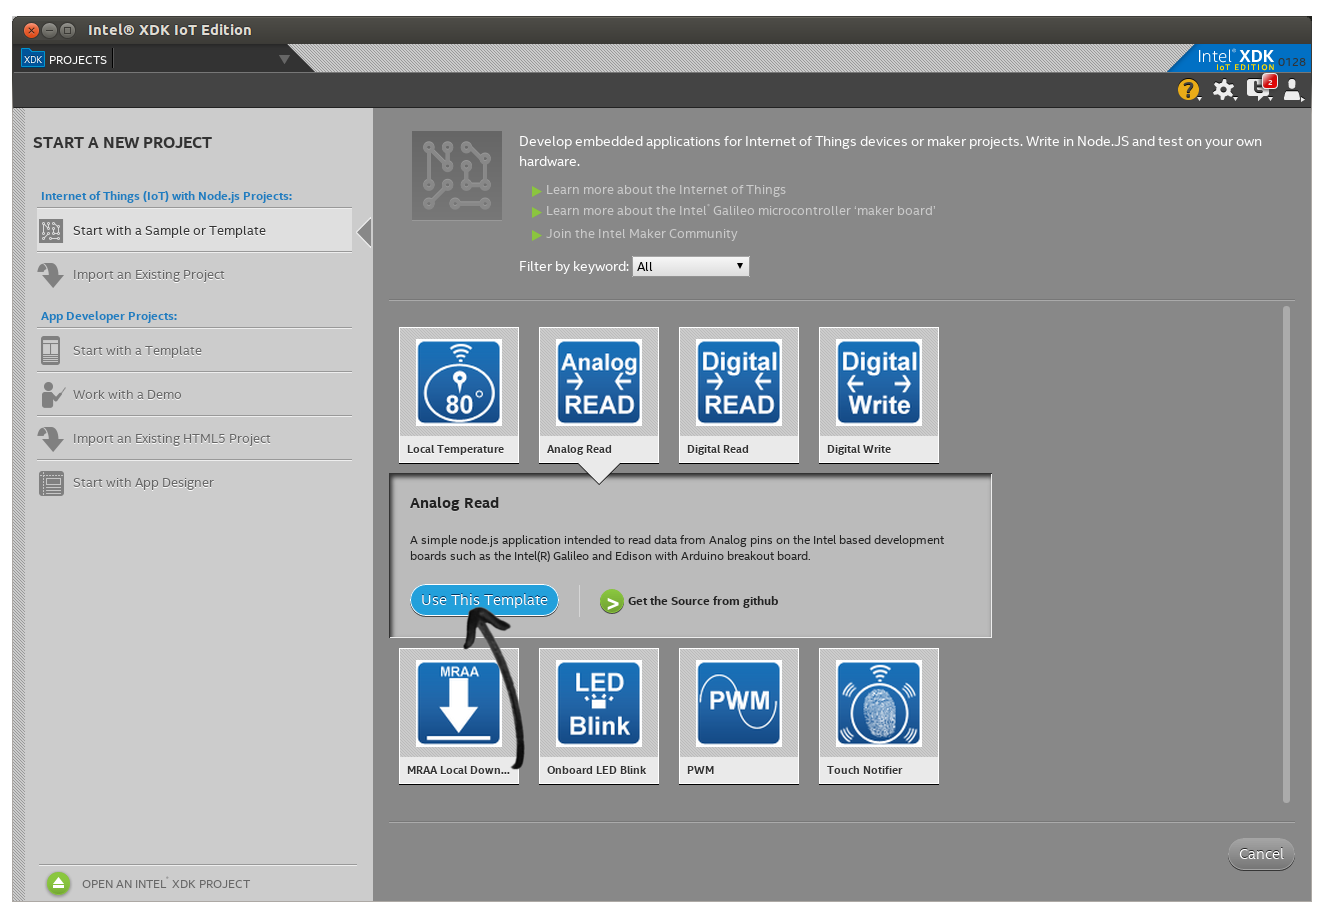
Then, install Intel IoT XDK in your machine.
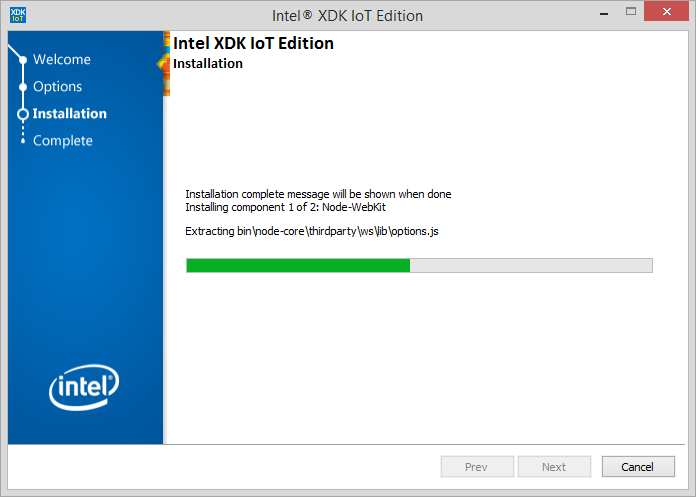
Upon successful installation, you should be able to open the IoT XDK within a click. Now let’s prepare your Galileo board to connect with IoT XDK.
2. Prepare Yocto Image
Please take note that there are a few things that required before setting up Intel Galileo with IoT XDK. You need to prepare:
- A Micro SD Card (2Gb and above)
- A Micro SD Card reader (is used to write Yocto image into Micro SD card)
Download latest image from Intel IoT software webpage (https://software.intel.com/en-us/iot/downloads).
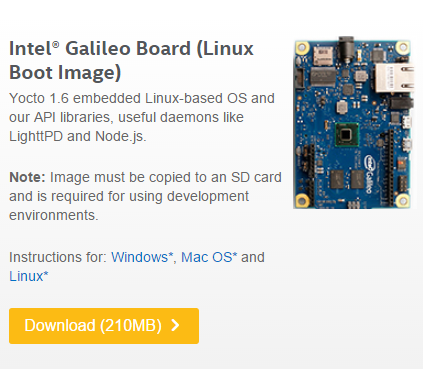
Windows*
a. Using 7zip or a similar tool, extract the downloaded image file *.bz2 on your Windows system.
b. Insert the micro-SD Card in the appropriate card slot of the Windows system.
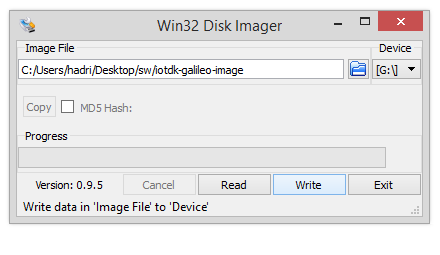
c. Download the Win32DiskImager utility and install it as an Administrator. After a successful installation, run the Win32DiskImager as an Administrator.
e. Ensure that you have selected the correct Device Drive corresponding to your inserted micro-SD card for writing.
OS X* or Linux*
a. In OS X Command line (Terminal application), you can write the image to the SD card.
b. Type the following commands (Example)
$ diskutil list c. identify the disk (not partition) of your SD card. e.g. disk4 (not disk4s1)
$ diskutil unmountDisk /dev/ e.g. diskutil unmountDisk /dev/disk4
$ sudo 3dbs=1m if=.img of=/dev/ e.g. sudo 3dbs=1m if=iot-devkit-mmcblkp0.direct of=/dev/rdisk4
(This will take a few minutes)
d. Place the prepared micro-SD card in the micro-SD card slot on the Intel Galileo.
3. Setting up Galileo board
Connect Ethernet cable to Galileo board. Connect power cable on Galileo board.
Important note: Make sure you use appropriate power cable to your Galileo board. The power cable for Galileo Gen 2 provides 12V while Galileo Gen 1 use 5V instead (Gen 1 is not prepare for 12V so you might damage your board by doing that).
4. Discovering IP address of your Galileo board
There are a few ways to find out your Galileo IP address:
Check PC’s IP address (*cheating :P)
You can check current IP address of PC in lab. Make sure Ethernet cable is connected to PC (This is to ensure that PC will obtained an IP address from school’s DHCP). Then, open ‘Command Prompt’ and type ‘ipconfig /all’ to see the IP address.
Later, unplug ethernet cable from PC, and then connect it back to Galileo board. Open IoT XDK, and discover your Galileo board. On ‘IoT Device: - Select a Device -‘ section, choose ‘[%] Rescan for Devices’.
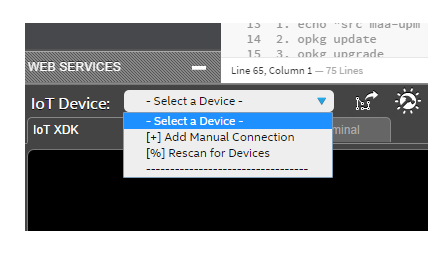
You Galileo board will appear on the list with the same IP address of PC.
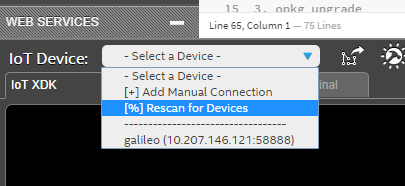
Connecting Galileo board with IoT XDK
Default connect
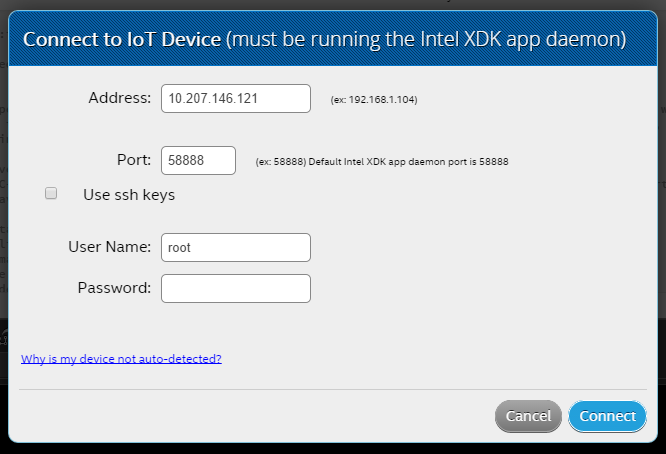
a. In the bottom-left of the Intel XDK, click the IoT Device drop-down list and choose Add Manual Connection:
b. Type the Address and Port values.
c. Fields appear requesting a User Name and Password. NOTE: You can set up your own user name on the IoT board, or use root as the user name. If you do set up your own user name (using adduser on the board, for example), you can use that name to log into the board, but your applications will still run as root.
d. Type your Username and Password.
e. Click Connect to log you into the board with ssh and start a connection to the daemon using ssh tunneling.
Secure Connect
Generate SSH key
a. The software used to generate the sshkeys is available on the board. If you already have a pair of keys, you can use the old ones instead of generating new ones.To generate new ssh keys:
b. Log into the board using ssh. For example, type:
$ ssh –l root 192.168.2.15

c. Run ssh_keygen to generate the keys:
$ ssh-keygen –t rsa
d. Answer the prompts. You will typically generate the keys into /home/root/.ssh/id_rsa
e. Add the contents of the file id_rsa.pub to the authorized_keys file in /home/root/.ssh.
f. Check the permissions of the files in the .ssh directory – they should be –rw——-. If they are not, you can change them with this chmod command: chmod 600 *
g. Only the .ssh directory itself and your private key files need to have these special permissions. Your public keys can be freely distributed.
h. Exit from the board and use scp to copy the private key file to your development computer: scp root@192.168.2.15:/home/root/.ssh/id_rsa ~/.ssh/iot_rsa
i. It is worth making sure that nobody else can read this file or directory. Some implementations of ssh will refuse to use keys that have loose permissions. The same instructions (chmod) given above can be used.
Connecting your IoT Device with secure SSH
a. Instead of typing your password, you can log in using a private/public ssh key pair. To generate new keys, see the instructions below.
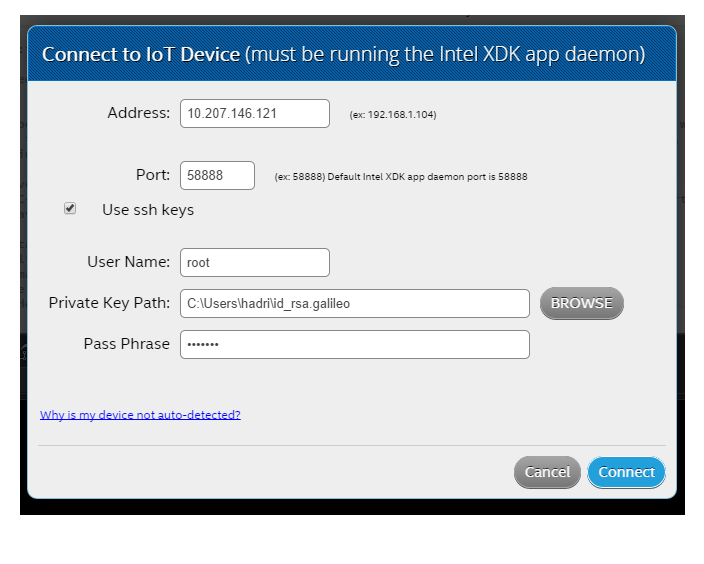
b. In the bottom-left of the Intel XDK, click the IoT Device drop-down list and choose Add Manual Connection.
c. Type the Address and Port values.
d. Check (enable) the Use secure connection box.
e. Check the Use ssh keys box. The Password field disappears and two new fields appear: Private Key Path and Pass Phrase.
f. Type your Username.
g. Type or browse to the Private Key Path.
h. Type your Pass Phrase.
i. Click Connect to log you into the board with ssh and start a connection to the daemon using ssh tunneling.
Set Device’s Name
You could set name on your Galileo board.
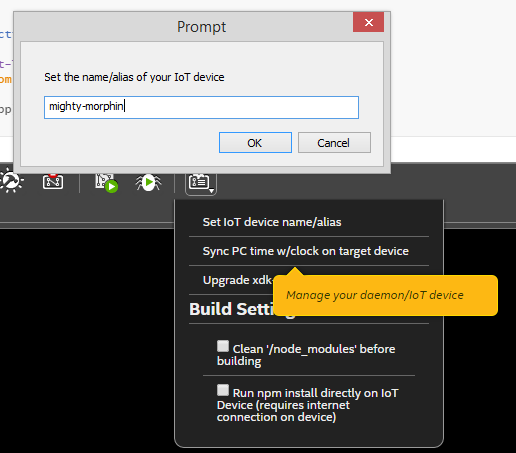
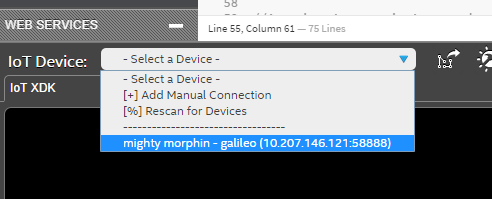
And you should see the name appears on ‘IoT Device’ list.
blog comments powered by Disqus