
This guide shows on how to access Galileo console by running Arduino sketch via Telnet, which actually provide an alternative for you if you don’t have an actual Serial cables (UART Cable for Gen1, or FTDI Cable for Gen2) for console access.
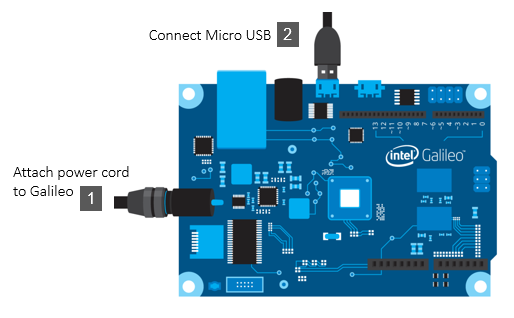
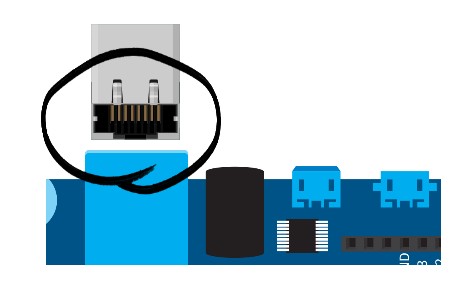
1. Power up Galileo board
Connect power adapter to Galileo and attach Micro USB cable to USB CLIENT port (and also to your PC).
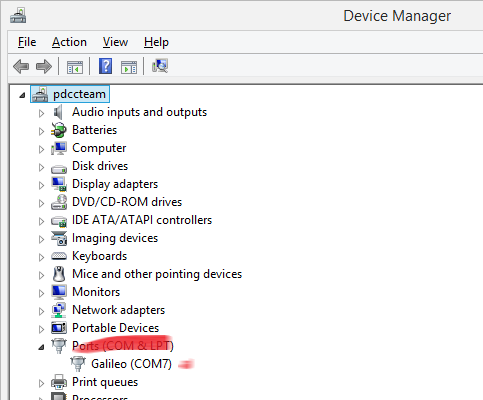
2. Verify Galileo Connectivity
Open “Device Manager” and make sure your Galileo port presents on the list.
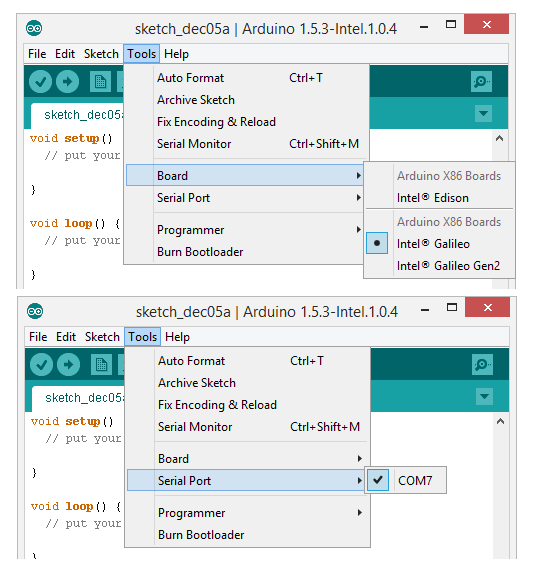
Open Arduino IDE in your Galileo software directory.

Make sure to choose the correct Galileo board (Gen1 or Gen2) and also to choose the correct Galileo port.
3. Connect Ethernet
Attach network cable to Ethernet port of Galileo board.
4. Write Arduino Sketch
Create a new sketch. Write these lines:
int setup() {
	system("ifup eth0");		// Activate and assign IP
}

int loop() {
	system("ifconfig eth0 > /dev/ttyGS0");	// display in serial-monitor
	delay(5000);
}
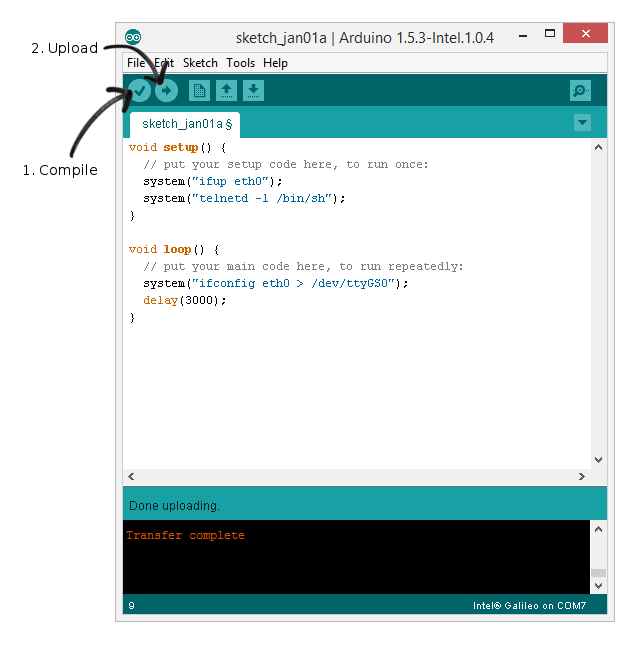
In Setup function, we call ifup eth0 to bring up network interface and send discover in order to get an IP, Then start the telnet service. In loop function, we call ifconfig and redirect output of IP address to ttyGS0 on serial monitor.
5. Compile and Upload
Compile and upload your sketch to Galileo board.
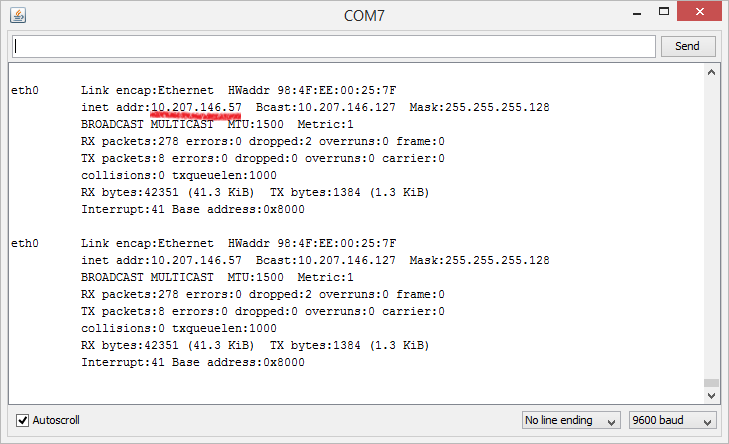
6. Open Serial Monitor
Open Serial Monitor (Tools > Serial Monitor) to verify the IP address.
7. Start Telnet
Open PuTTY application. Insert IP address to “Host Name (or IP address)” and enable Telnet radio button.
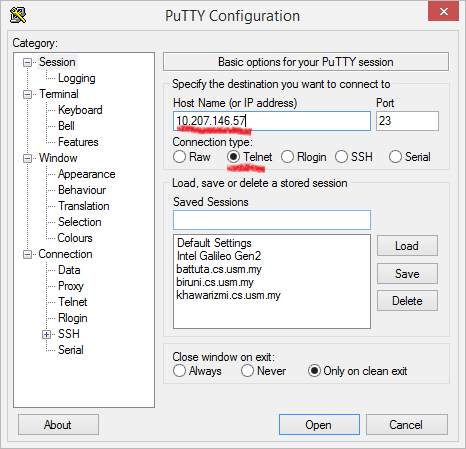
Click Open to start Telnet connection. You may see the terminal console upon successful.

