Build a Yocto image might take times to complete but once you have succesfully bake the image, it is time to explore on what can you do with the image. Here we list-out a few things that you can do to start your hacking.
1. How to access command-line terminal
To be able to access command-line terminal is crucial. Therefore here we list out a few options on how you can access command-line terminal inside Galileo.
1.1 Serial Console
1.1.1 Intel Galileo (Gen 1)
Galileo Gen1 provides terminal interface UART 3.5mm jack RS232 port over USB, requires special cables as you need to have a pair of USB-to-RS232 cable and RS232-to-3.5mm jack.
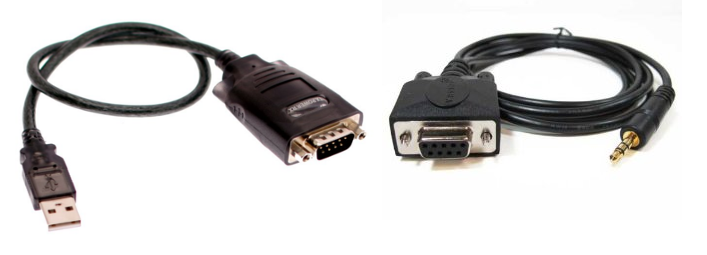
Connect at terminal interface 3.5mm jack on Intel Galileo (Gen1).
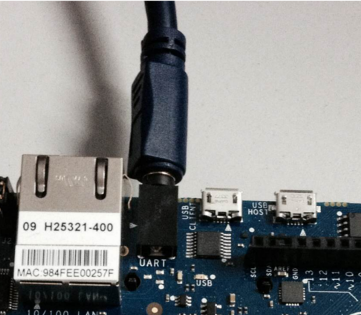
1.1.2 Intel Galileo Gen 2
In second generation of Intel Galileo requires FTDI cables (USB to Serial) TTL 3.3v Level. You can buy FTDI cable online with Mouser Electronics.
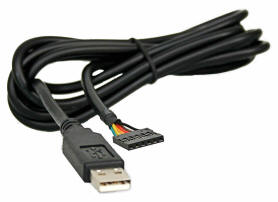
Attach FTDI cable through 6-pin connector on Intel Galileo Gen2.
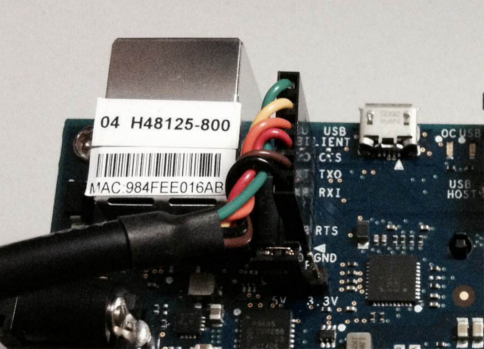
Check Galileo port. For Linux user, you might want to enable the serial port.

Start serial console connection with PuTTY. Download PuTTY and do the following settings:
*Windows
Make sure that you use the correct COM for connection. Set the speed to 115200.
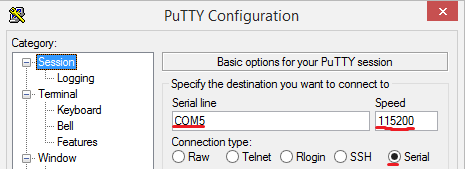
In Terminal -> Keyboard, set “The function keys and keypad” to “SCO” then click “Open” to start.

*Linux (Ubuntu 12.04)
You may use Minicom or PuTTY to connect to serial console.
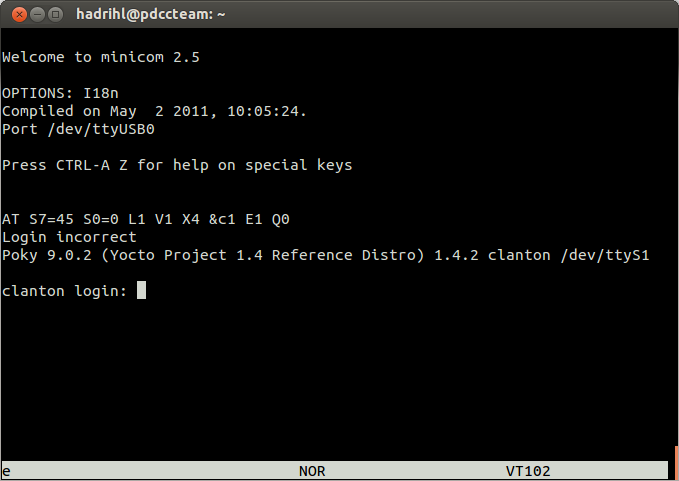
Upon successfull connection, you may see the console login screen. Use “root” to access.

2. Command Utilities
Here we listed some important command-line tools which people might use it almost all the time.
2.1. Netstat
Netstat(network statistic) is used to display active TCP connection and details on each individual connection.
$ netstat ntap

2.2 ifconfig/ifup
Both ifconfig and ifup are used to activate network interfaces. On the other perspective, ifconfig directly control network interfaces while ifup executes some scripts(ifup-scripts and ifdown-script). An
$ ifconfig eth0 up
activates eth0 but does not setup IP address,

However an
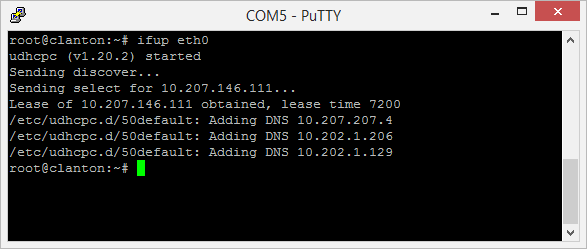
$ ifup eth0
setup IP address or other options based by an ifcfg-eth0.
Remember to connect network cable to Ethernet port at Galileo board.
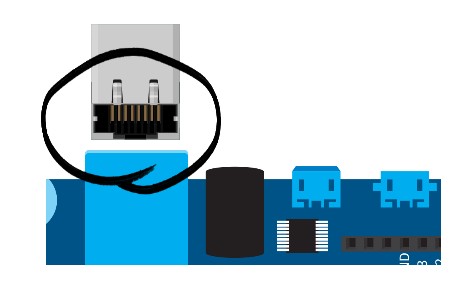
3. SSH
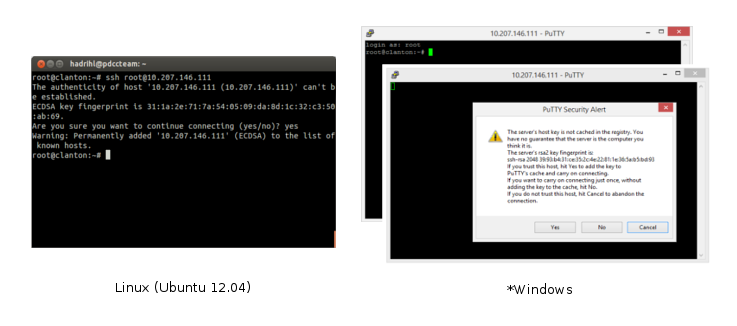
When your Galileo board has an IP address and SSH-enabled connection, you can access your Galileo remotely via ssh. Example:
$ ssh root@10.207.146.57
4. Top
Top command is a system monitoring tool. By default, top command displays the processes in the order of CPU usage. Enter “top” in terminal to start using top.
$ top

5. Check Galileo Firmware Version
You can use cat command to display current version of firmware of Galileo. Please update the firmware if current firmware is out-dated.
$ cat /etc/sysfirmware/board_data/flash_version

6. Set Time/Date
Use date command to display and set system’s date and time. By default, the format to set is MMDDhhmmYYYY. Example:
$ date 121714002014
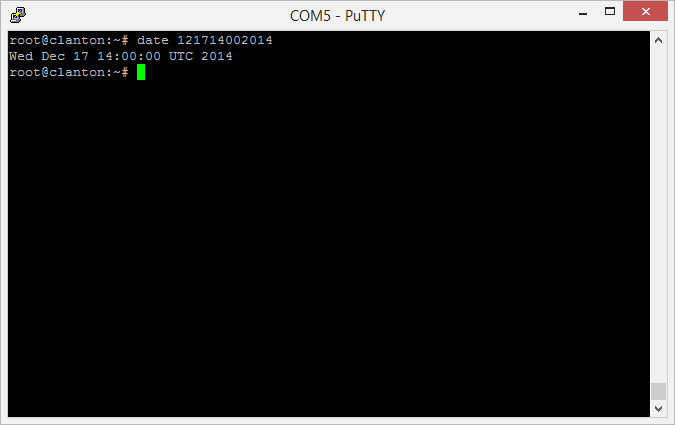
will set the date to Dec 17 14:00:00 UTC 2014. Please remind that rebooting action will reset the date and time.
blog comments powered by Disqus